

- Stoneware, iron stain, clay and wood ash slip

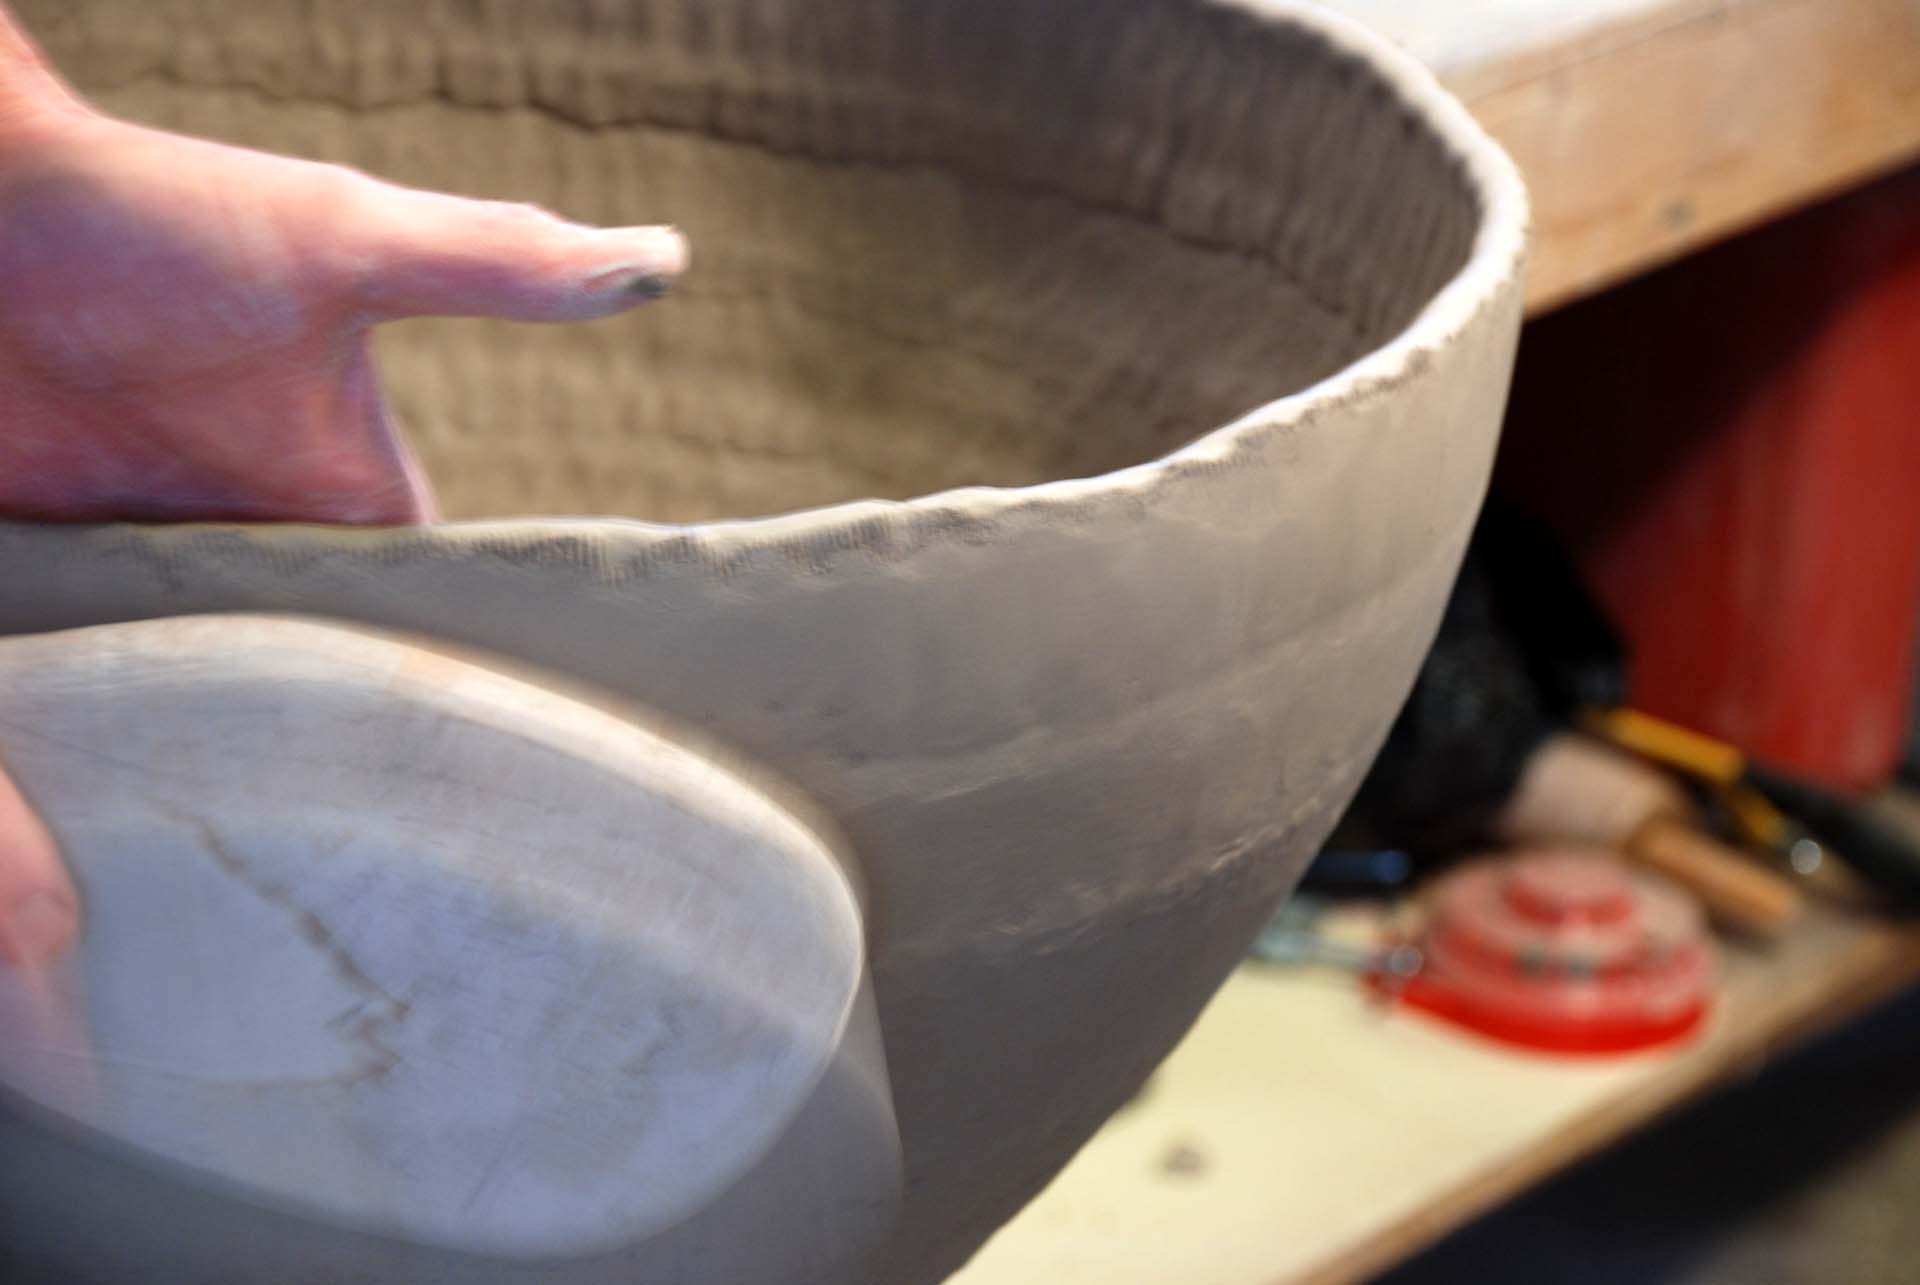
I make my coiled vessels with a coil and pinch method, usually starting out with a disk of clay to which I add coils one at a time, smearing the new soft coil into the drier, stiffer, most recent addition. I use a banding wheel in order to make the pinching, scraping and paddling consistent around the pot and achieve a more or less circular cross-section. It is a slow, rhythmic process that involves many individual movements of the thumbs and fingers to securely attach each coil and form the wall of the pot. I never spin the banding wheel to approximate a throwing type of pressure on the clay. The wheel revolves slowly as a result of the pinching or paddling. At the widest circumference of the piece in the photo there are around eighty thumb smears on the clay coil on the inside, as many on the outside, and as many pinches with both hands to thin and compress the coil and to extend it upwards and inwards or outwards, depending on the shape. When the coil is attached and thinned out, it adds two or three inches to the height of the wall. Then I use a serrated scraper to level the high places and work toward a more or less continuous surface (this usually involves another two or three times around the pot) and finally a paddle to further thin, extend, and shape the wall. The result is different from achieving a similar form by throwing on the wheel, where the clay is squeezed through the hands in a more or less horizontal direction with more speed and a more constant relationship to the central axis. Even though I am basically working toward a symmetrical and round form, the slow, hand methods result in a slightly out-of-round shape.
This process is perhaps less efficient than some of the traditional methods that use large coils and the palms or knuckles of the hands to smear the new coil into the existing wall, or using a paddle with an anvil on the inside to thin, compress and shape, but it is a method I developed while making some non-round, sculptural work several years ago. It allowed me to move the shape of the wall in any direction I wanted to as the form was being built and it also seemed to work well technically, in terms of having few problems with coil separation or other types of cracking.

- Starting a piece.

As you can see in this image, four coils have been added so far. The challenge at the beginning, besides getting the shape you want, is to not add too much clay before the existing wall can support it. In a piece like this, I usually am able to add two coils to the bottom slab and pinch them up and outwards to the point where they are thin enough. The clay then has to dry enough to support more clay, so from then on, I am adding one coil at a time and letting it dry enough for the next one. In the above image I am gently paddling the last coil to get the shape I want.

- Joining the coil on the inside.


- Joining the coil on the outside.


- View of new coil joined inside and out.


- Pinching with both hands to compress, thin and extend the coil upwards.


- View of the newly added and pinched coil.


- Using a serrated rib to work on the joint of the new coil.


- View after using a flexible metal rib to smooth the thinned coil.


- Using a paddle to thin, extend, and shape the new coil.

- Drying, waiting for the next coil.


- After a few more coils have been added.


- The shapes after completing with a thicker, strong rim.


- The entire outside of the piece has been stained with iron oxide and at this point, the bottom half has been sprayed with a clay and wood ash slip. Now it is time to spray the top half.


- In the kiln, ready for a cone 10 reduction firing.


- The finished piece. The iron in the clay and the iron stain affect the color of the slip. It is dark where thin and a corn meal yellow there thicker. If thick enough it also develops a cracked texture. The flux from the wood ash fuses the slip to itself and to the clay body.

